Chalkboard lettering tutorial in Photoshop
Once again my love for donuts prevails.
If you are typographically challenged when it comes to drawing letters, you result to other ways in order to improvise. I made this super easy tutorial that will make your lettering look like chalk letters! No more messing with photoshop to get the right effect.
1. Open a new document in photoshop sized at 8.5″x11″
2. Write out whatever saying you want. I used one font that looks handwritten (Moonflower bold) & Happyloverstown
3. Reduce the opacity of the text layer to anywhere from 10%-14%. (You can barely see mine below).

4. print the document out
5. trace the letter with a pencil and shade in the bold ones (like I’m doing below). It doesn’t have to be perfect because you ultimately want it to look like you hand drew it from the start.

6. Scan the document once you are done tracing
7. Import the scanned document into Photoshop
8. Use the magic wand tool to select the white background. Then go to Select>Similar
then Select>Inverse to select the text
9. Move the letters (you’ll see the scissor tool when hovering over the letters) to a new document.
10. Place an image as a background, meaning this layer will be below your text layer you just pasted. (I got my image here: https://ovenandapron.files.wordpress.com/2014/01/2014-01-19-11-18-27.jpg)
11. Your text looks exactly like a pencil drawing and probably pretty ugly. So, put a color overlay on it. You can chose any color you want but in order for it to look like a chalk effect, choose white.
12. Voila! You’re done!
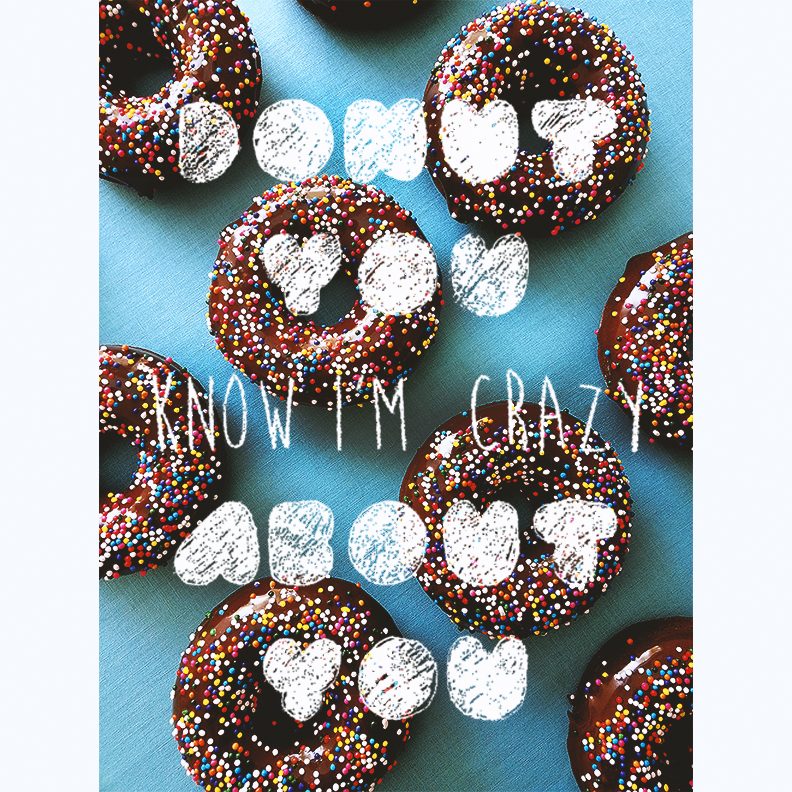
Here’s my final product: